Create a configuration plugin in Cypress
Last week I have been playing with configuration in Cypress. I find configuring different environments to be especially hard topic. Especially for people that are beginning. In this blog, I would like to break configuration into small steps, that will help you navigate this topic.
Basics of configuration
Every Cypress project has a cypress.config.js file. In this file, you have an env attribute, that is usually filled with environment variables. Let's say I add a variable app to this attribute like this:
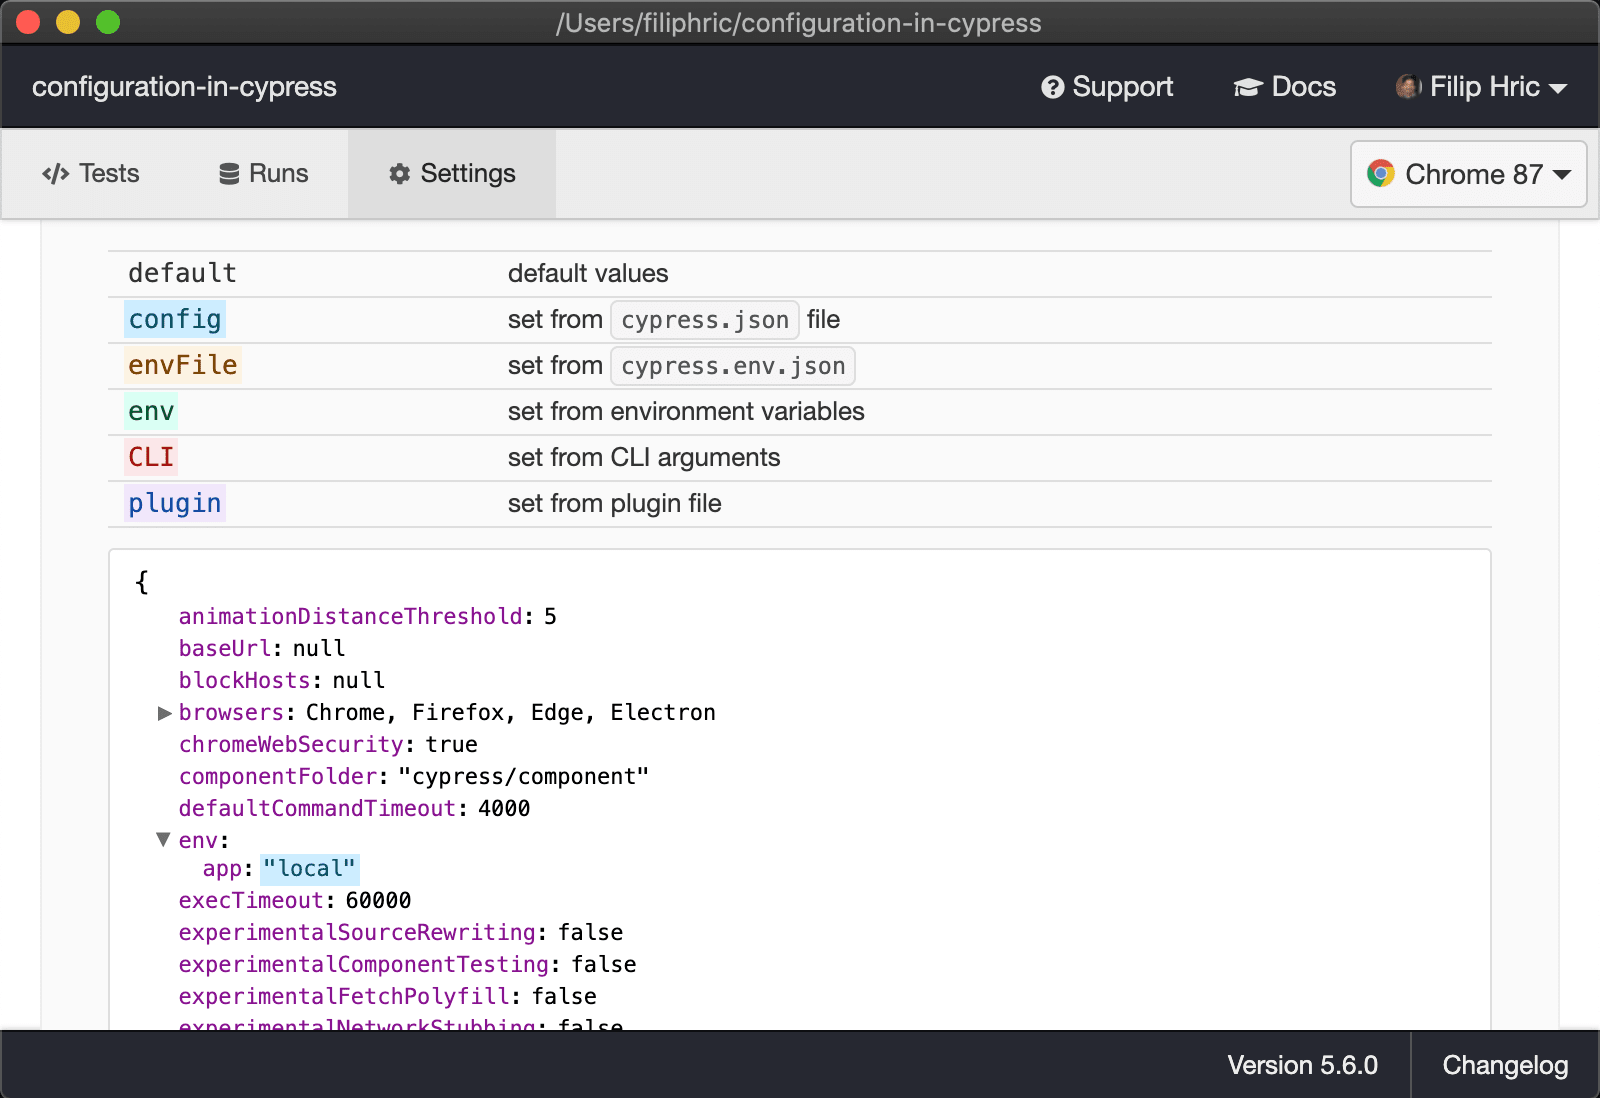
When I now open Cypress in GUI mode, I can look into settings tab and see my config file being read, highlighted in blue.

As you can see from the screenshot, there are multiple ways to add your environment variables. You can add them with a CYPRESS_ prefix to your environment or pass them through CLI as arguments. Take a peek into the documentation, where you can find examples of all these approaches.
Writing a plugin
With more complicated setups, you might want to combine these approaches. Let’s say you have multiple environments, like local, staging, preprod and prod. Each of these has its own home url, its own version of api and its own redirect page. These configurations might look something like this:
As you can see this is kind of a mess. But this often happens in real life situations. You have got different combinations of APIs and URLs that differ from environment to environment. More than that, you may want to add some key or secret from environment that should not be in the codebase. Let’s dive into how we can solve this.
First of all, let’s see how the setupNodeEvents inside the cypress.config.js file works. Let’s show this on a simple example. We’ll add this piece of code and open Cypress via via npx cypress open
When we open Cypress, we will see { app: 'local' } logged out to our terminal.
Now let’s clear out our cypress.config.js and instead of this let’s pass a version flag via CLI to our environment, like this:
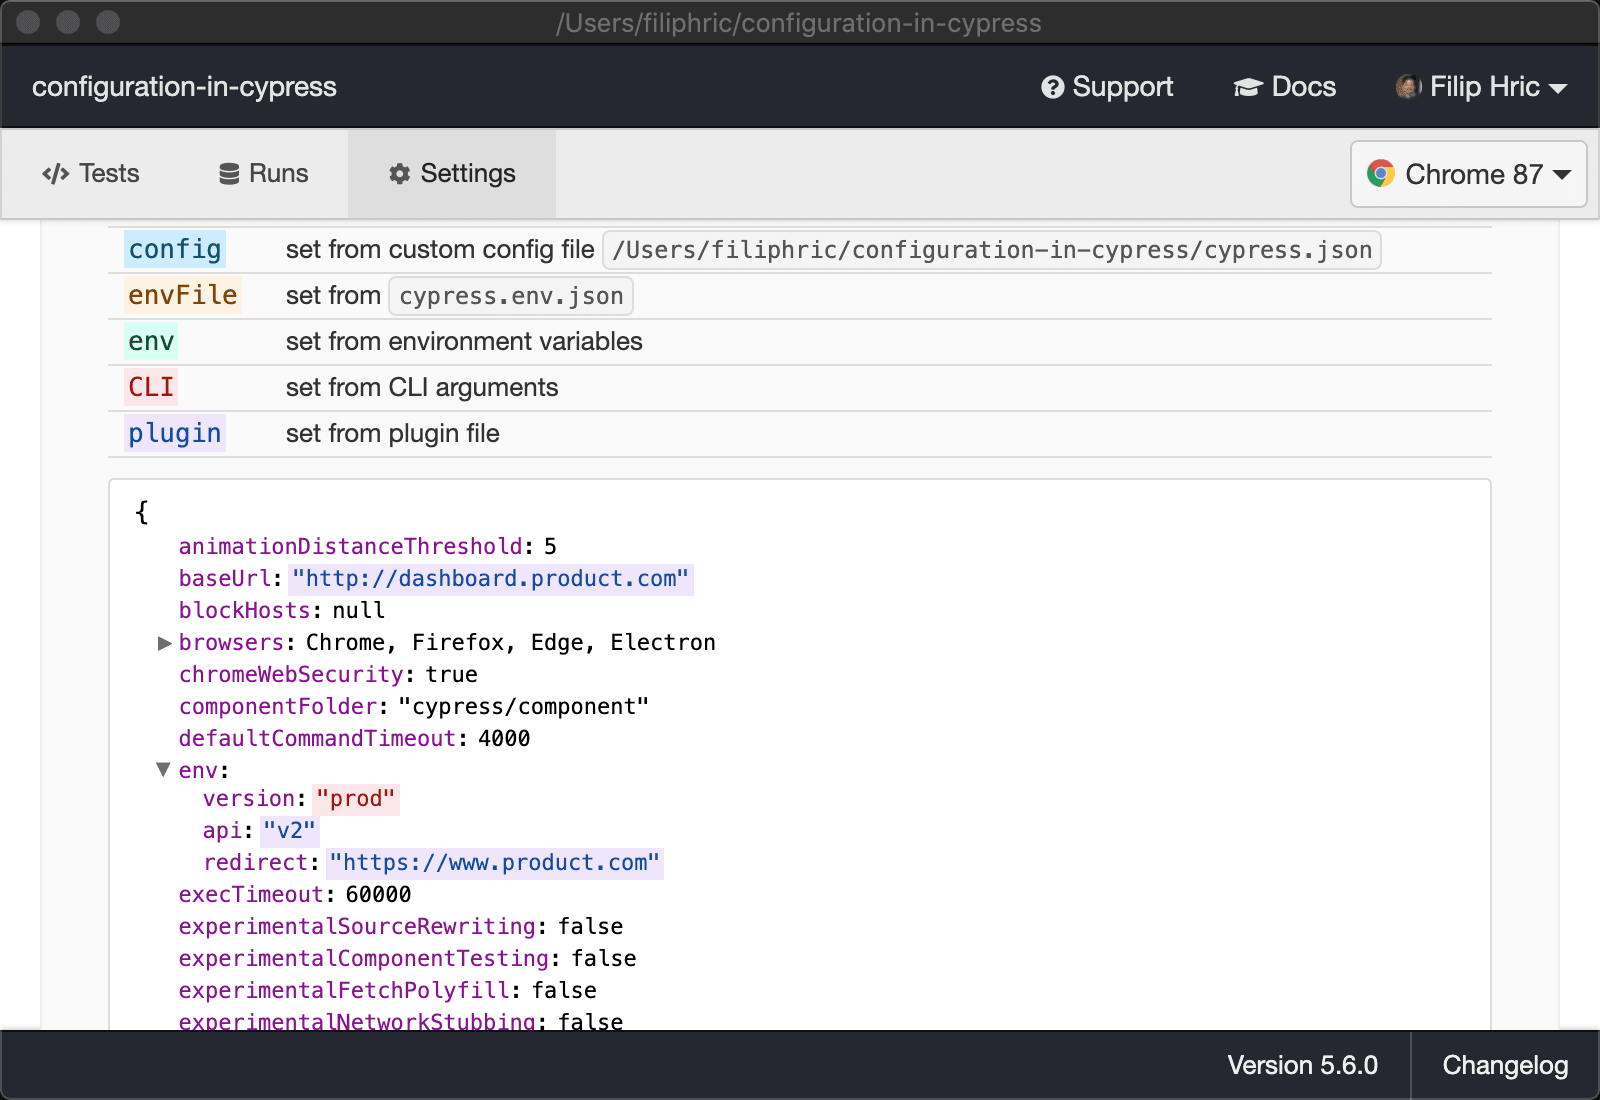
Upon opening Cypress, you would see { version: 'prod' } logged out to our terminal. Let's now use this information and change our config according to what we pass in version flag.
Using setupNodeEvents, we are now adding some more variables to our env. When we look into our settings in Cypress CLI, you can see that our env variables have been added.

This helps demonstrate how creating dynamic configuration works. Let's now say that our configuration paths are stored in separate json files, for which we created a separate config folder in our Cypress project:
Let's now say, that for each version flag, we want to load a different file and pass it into Cypress as our config and environment. In order to do this, we can rewrite our config file like this:
This way we can load whichever file we want and even add some more json files for different configurations. Whichever file we pass to our CLI will be read. Now we can take it a step further, and instead of using CLI flag, we will use Cypress environment variable like this:
As mentioned, anything passed to our CLI with prefix cypress_ will be added as environment variable to Cypress. Notice how I pass these before npx cypress open as opposed to --env flag that is passed after.
Handling secrets
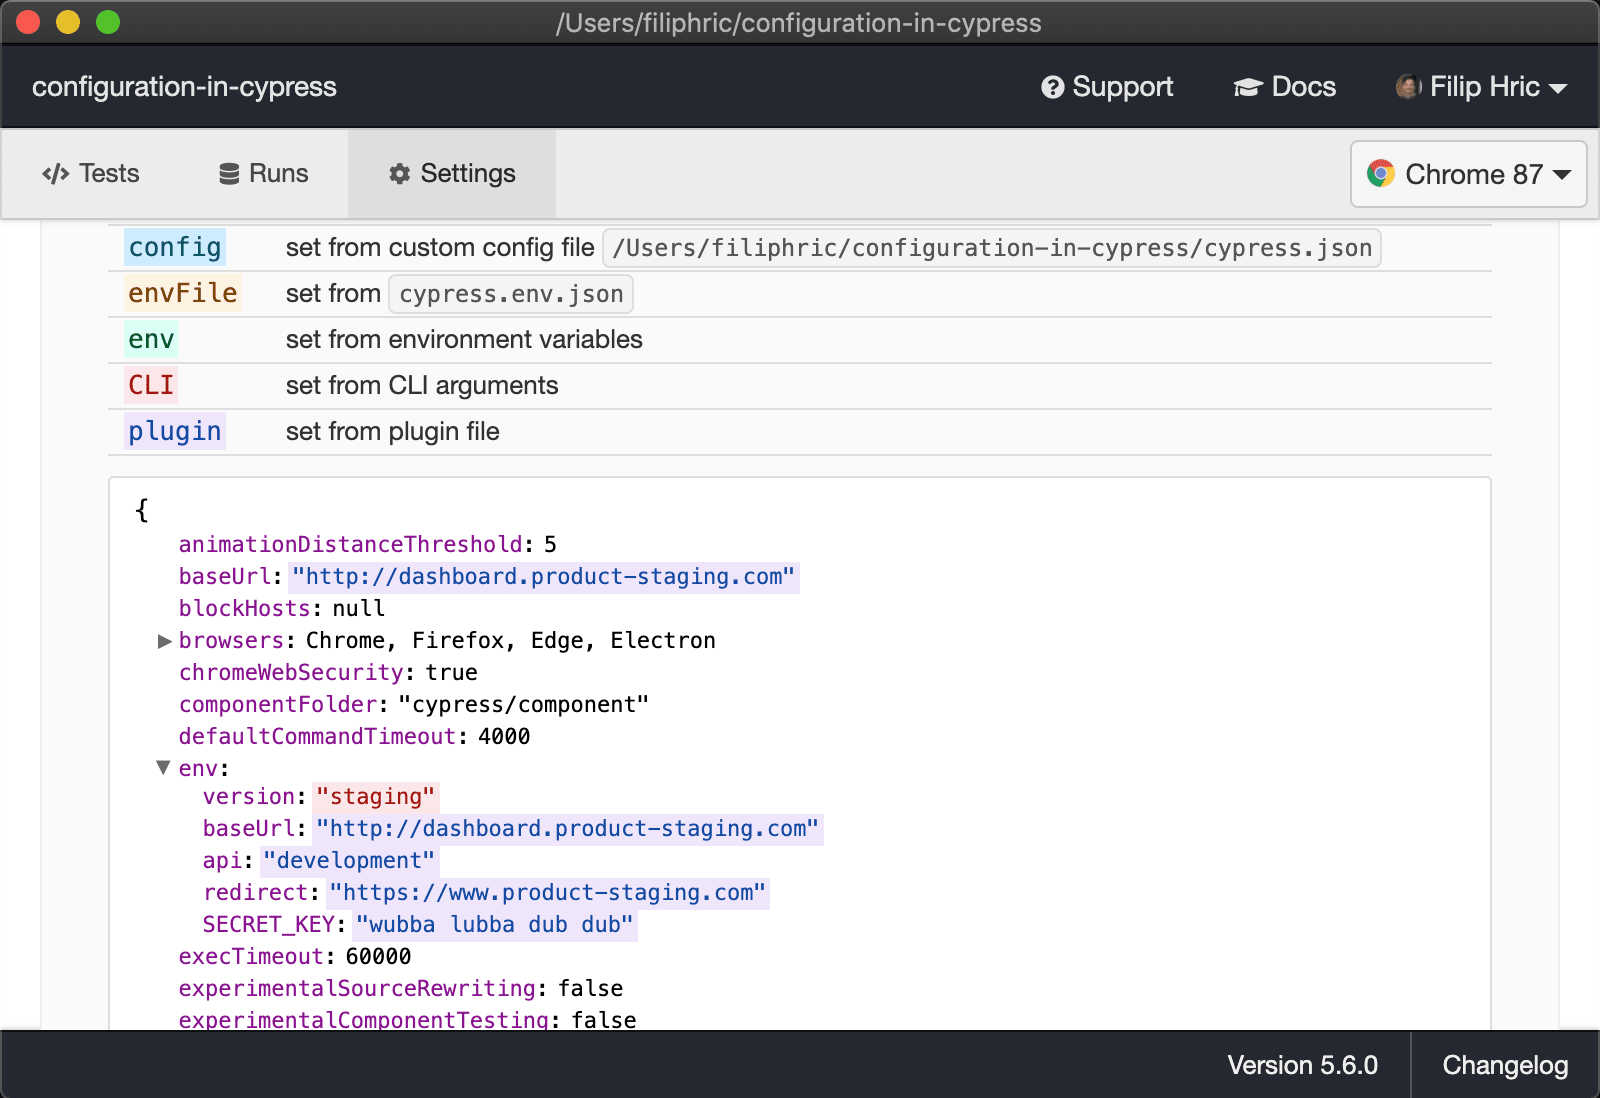
There are probably couple of keys or secrets that you don't want to keep in your code base. You usually keep them in your .bashrc or .zshrc file, depending on what shell you use. Or you may use dotenv plugin to store your variables per project. This works too. To read these variables and use them in your tests, you can add following to your configuration:
When you open your tests now, you can see the SECRET_KEY being displayed in our project settings.


